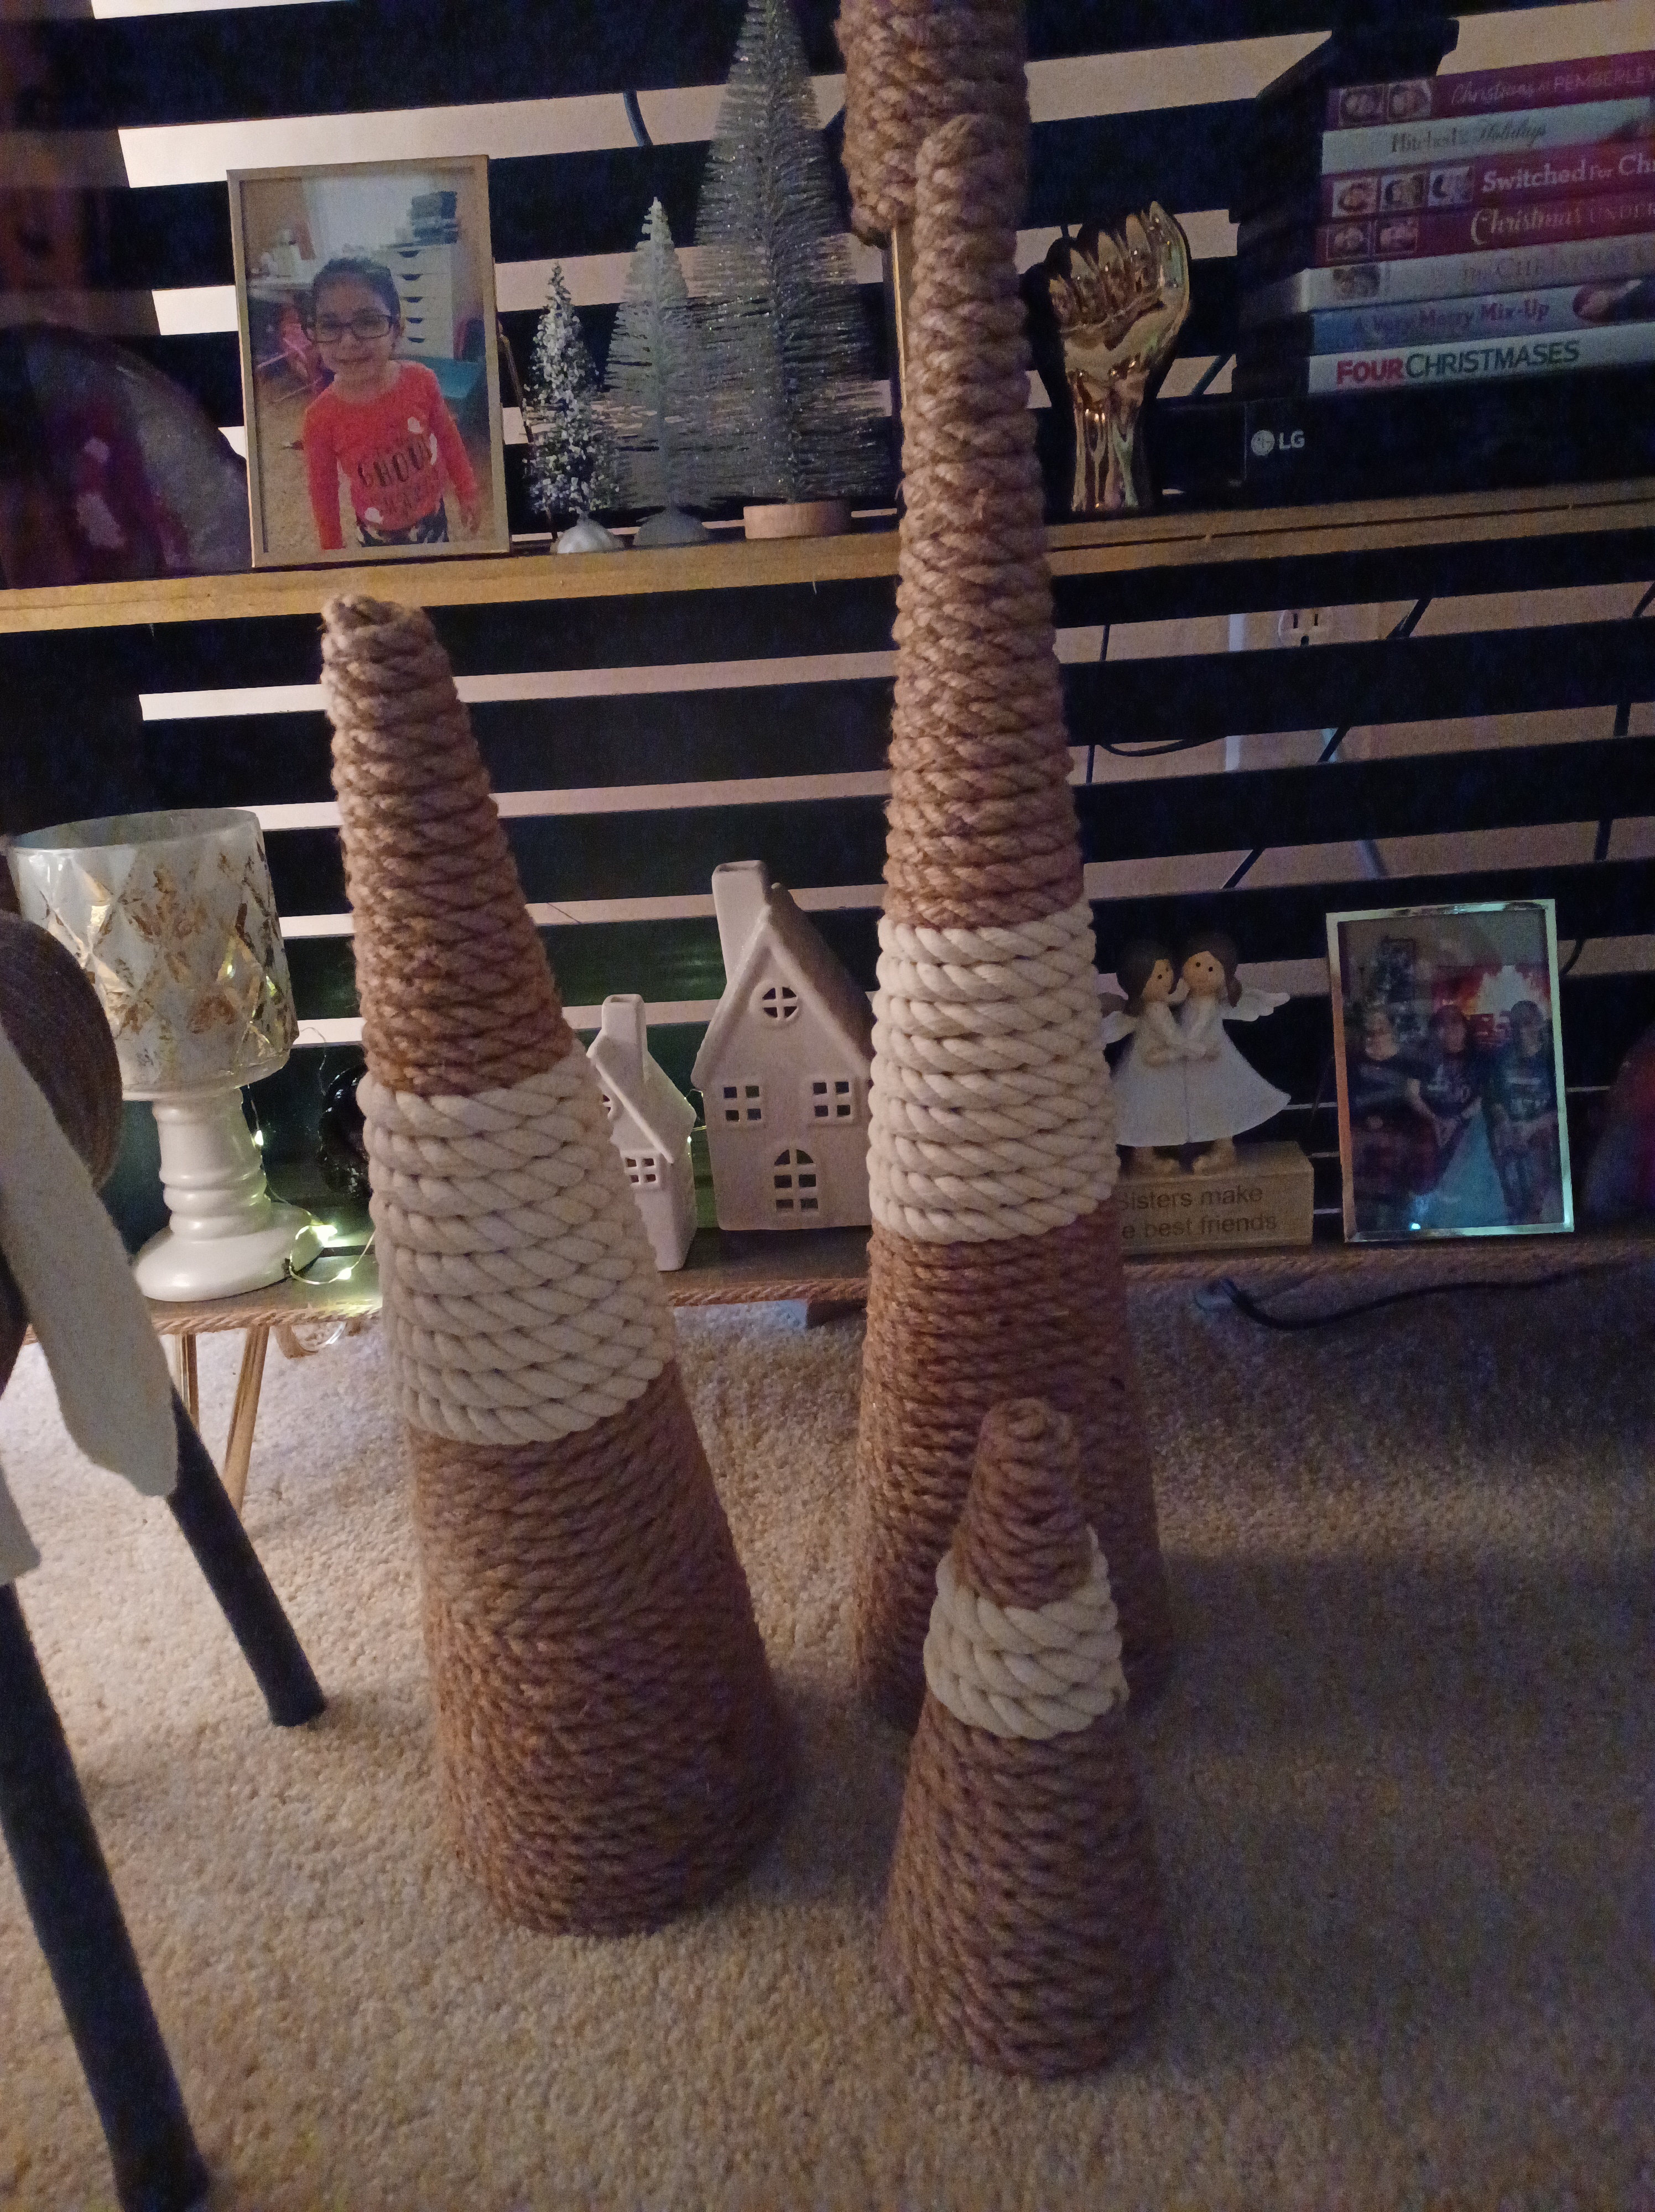
I am in LOVE with this DIY. I am a huge fan of the cone Christmas trees. However, they can be kind of pricey even on sale. DIY time! The best part about this DIY is you can get everything at Dollar Tree.
For this DIY you’ll need:
- poster board
- ribbon
- twine/jute/yarn/rope
- fabric
- hot glue
This project is really versatile I used things I had on hand. The first time I did this DIY I got three Christmas tree cones out of one poster board. All in they cost about $12 for three trees, so about $4 per tree (in varying sizes). The fabric and ribbon trees costs even less.
Steps:
- Figure out what size trees you want and then roll and cut your poster board accordingly. Depending on the sizes you can get up to three trees per poster board. Roll hold in place and cut. You can add some glue or tape as you go to keep the cone shape as you cut.
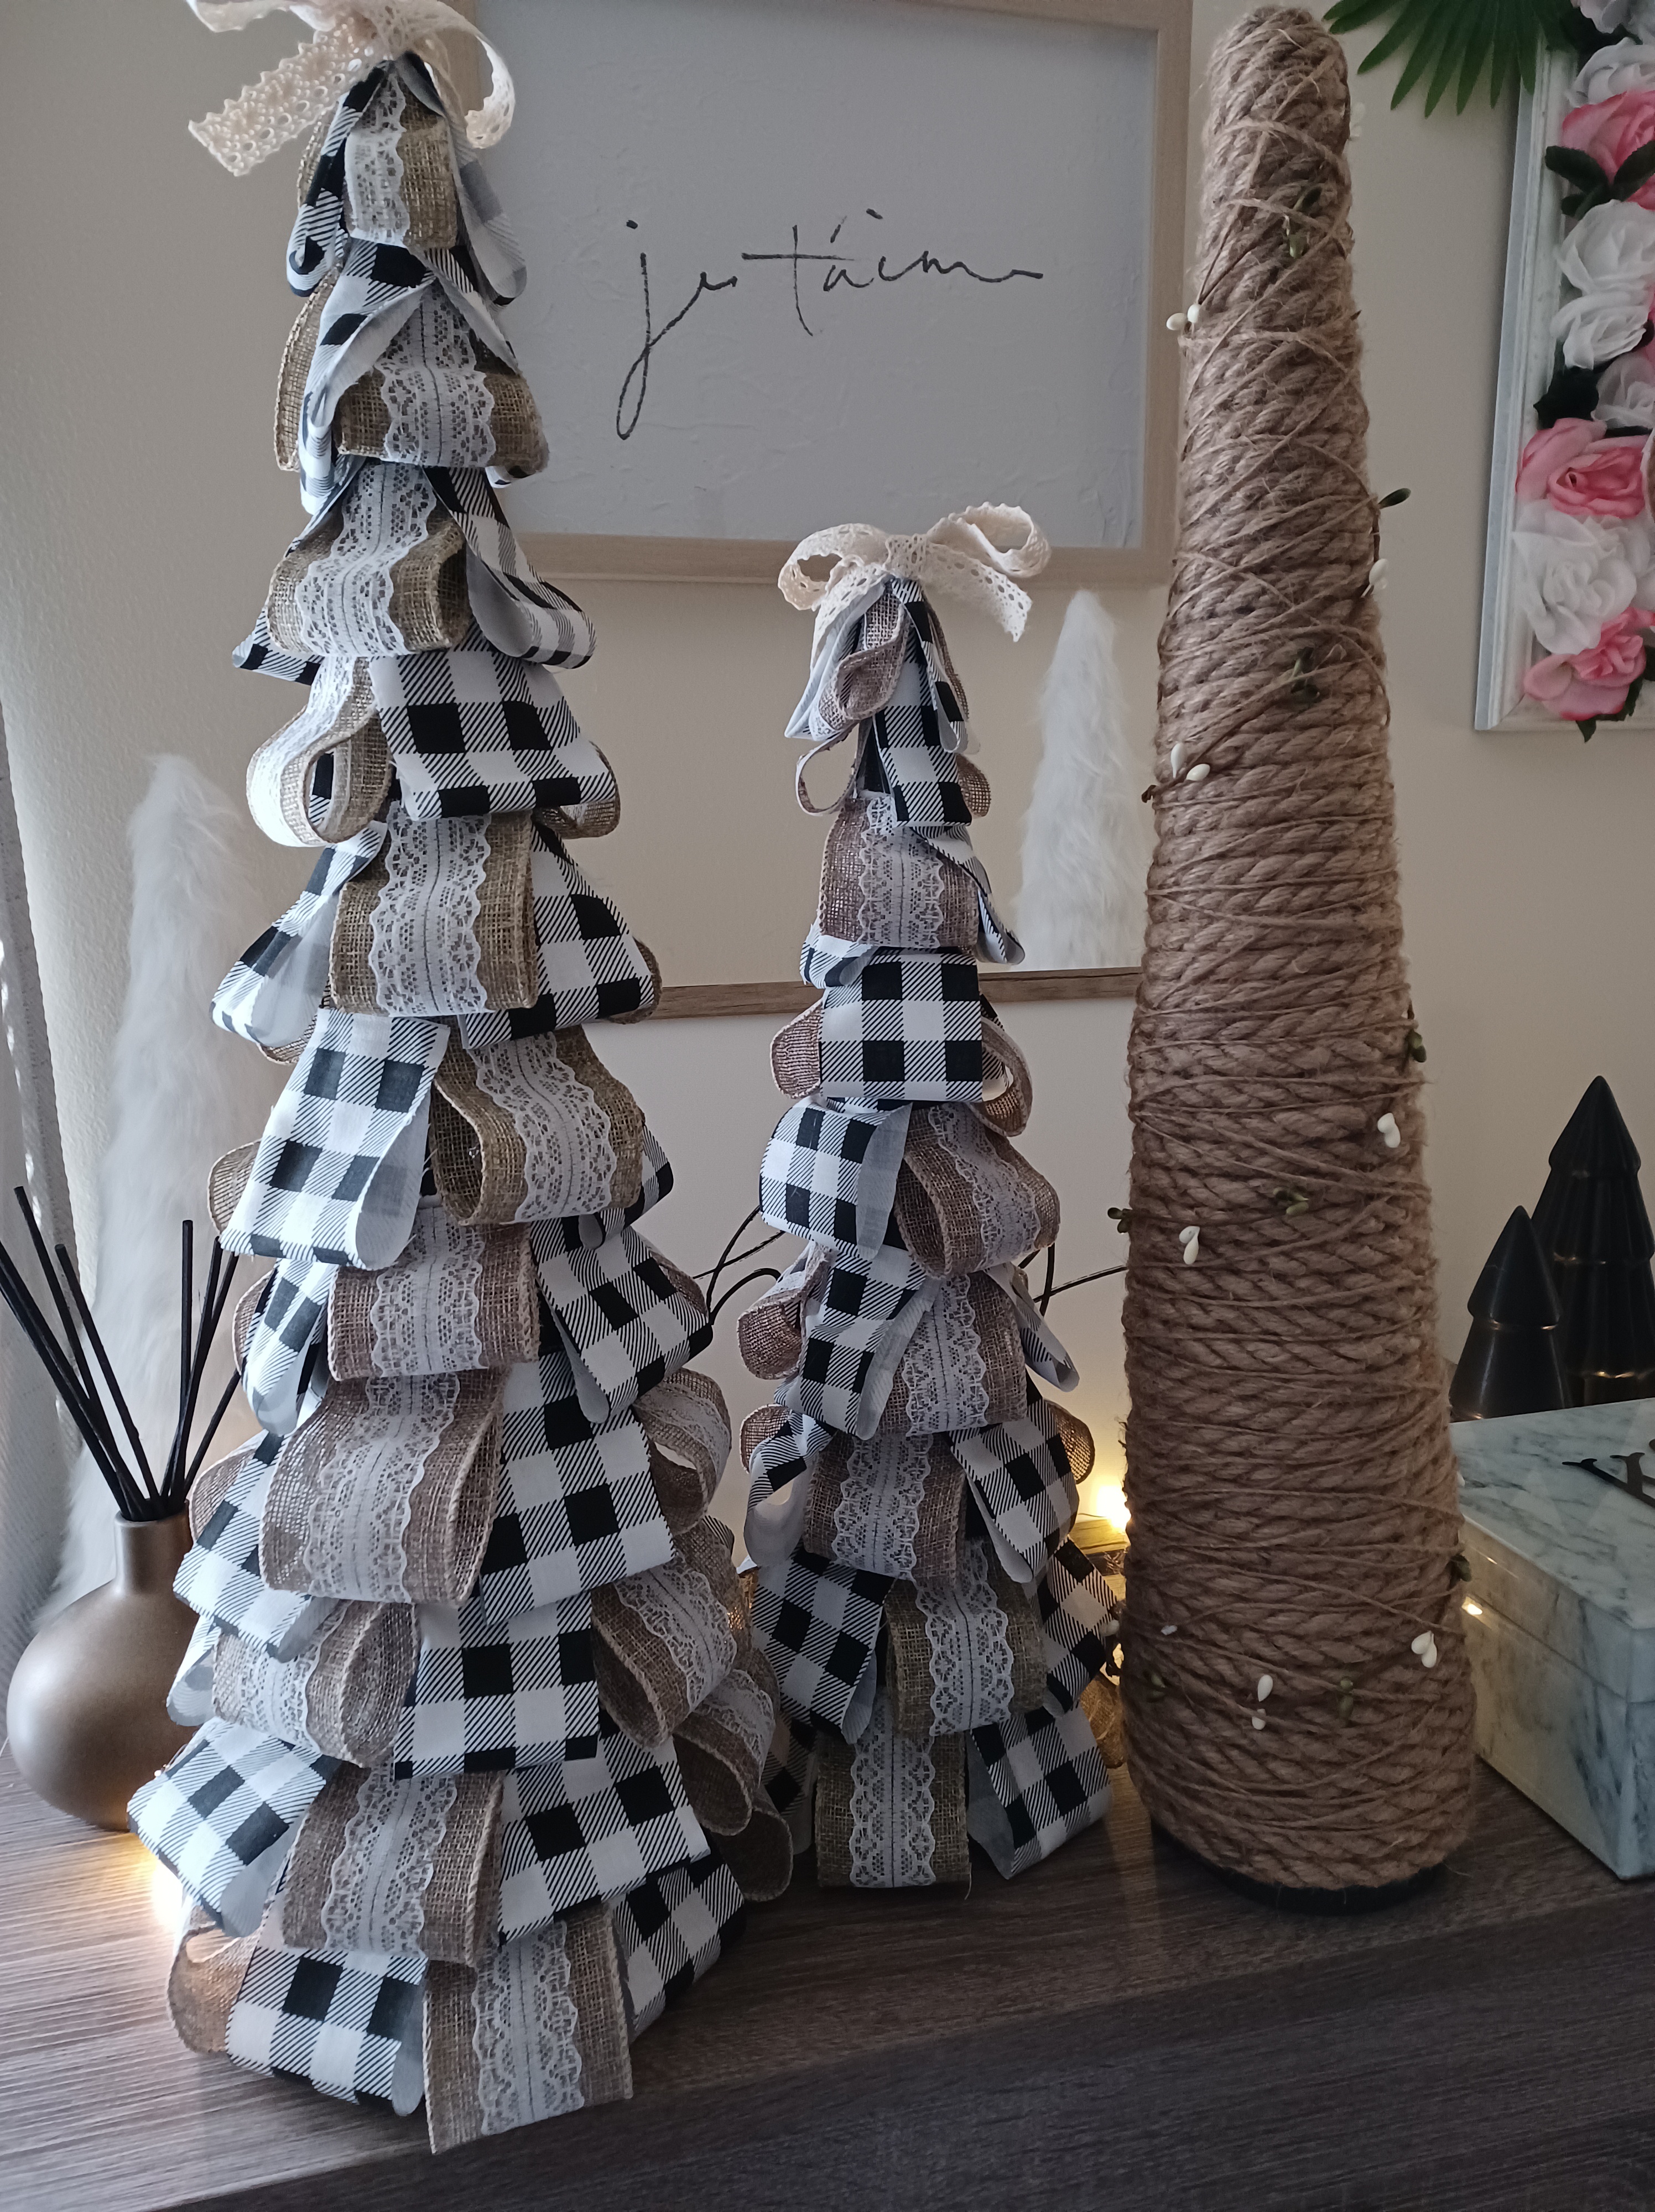
- Once you have your trees assembled, decide on what you want to cover them in. For rope or yarn you can simply wrap the tree until it’s completely covered. For some I went in after the initial wrap and loosly wrapped jute for more texture.
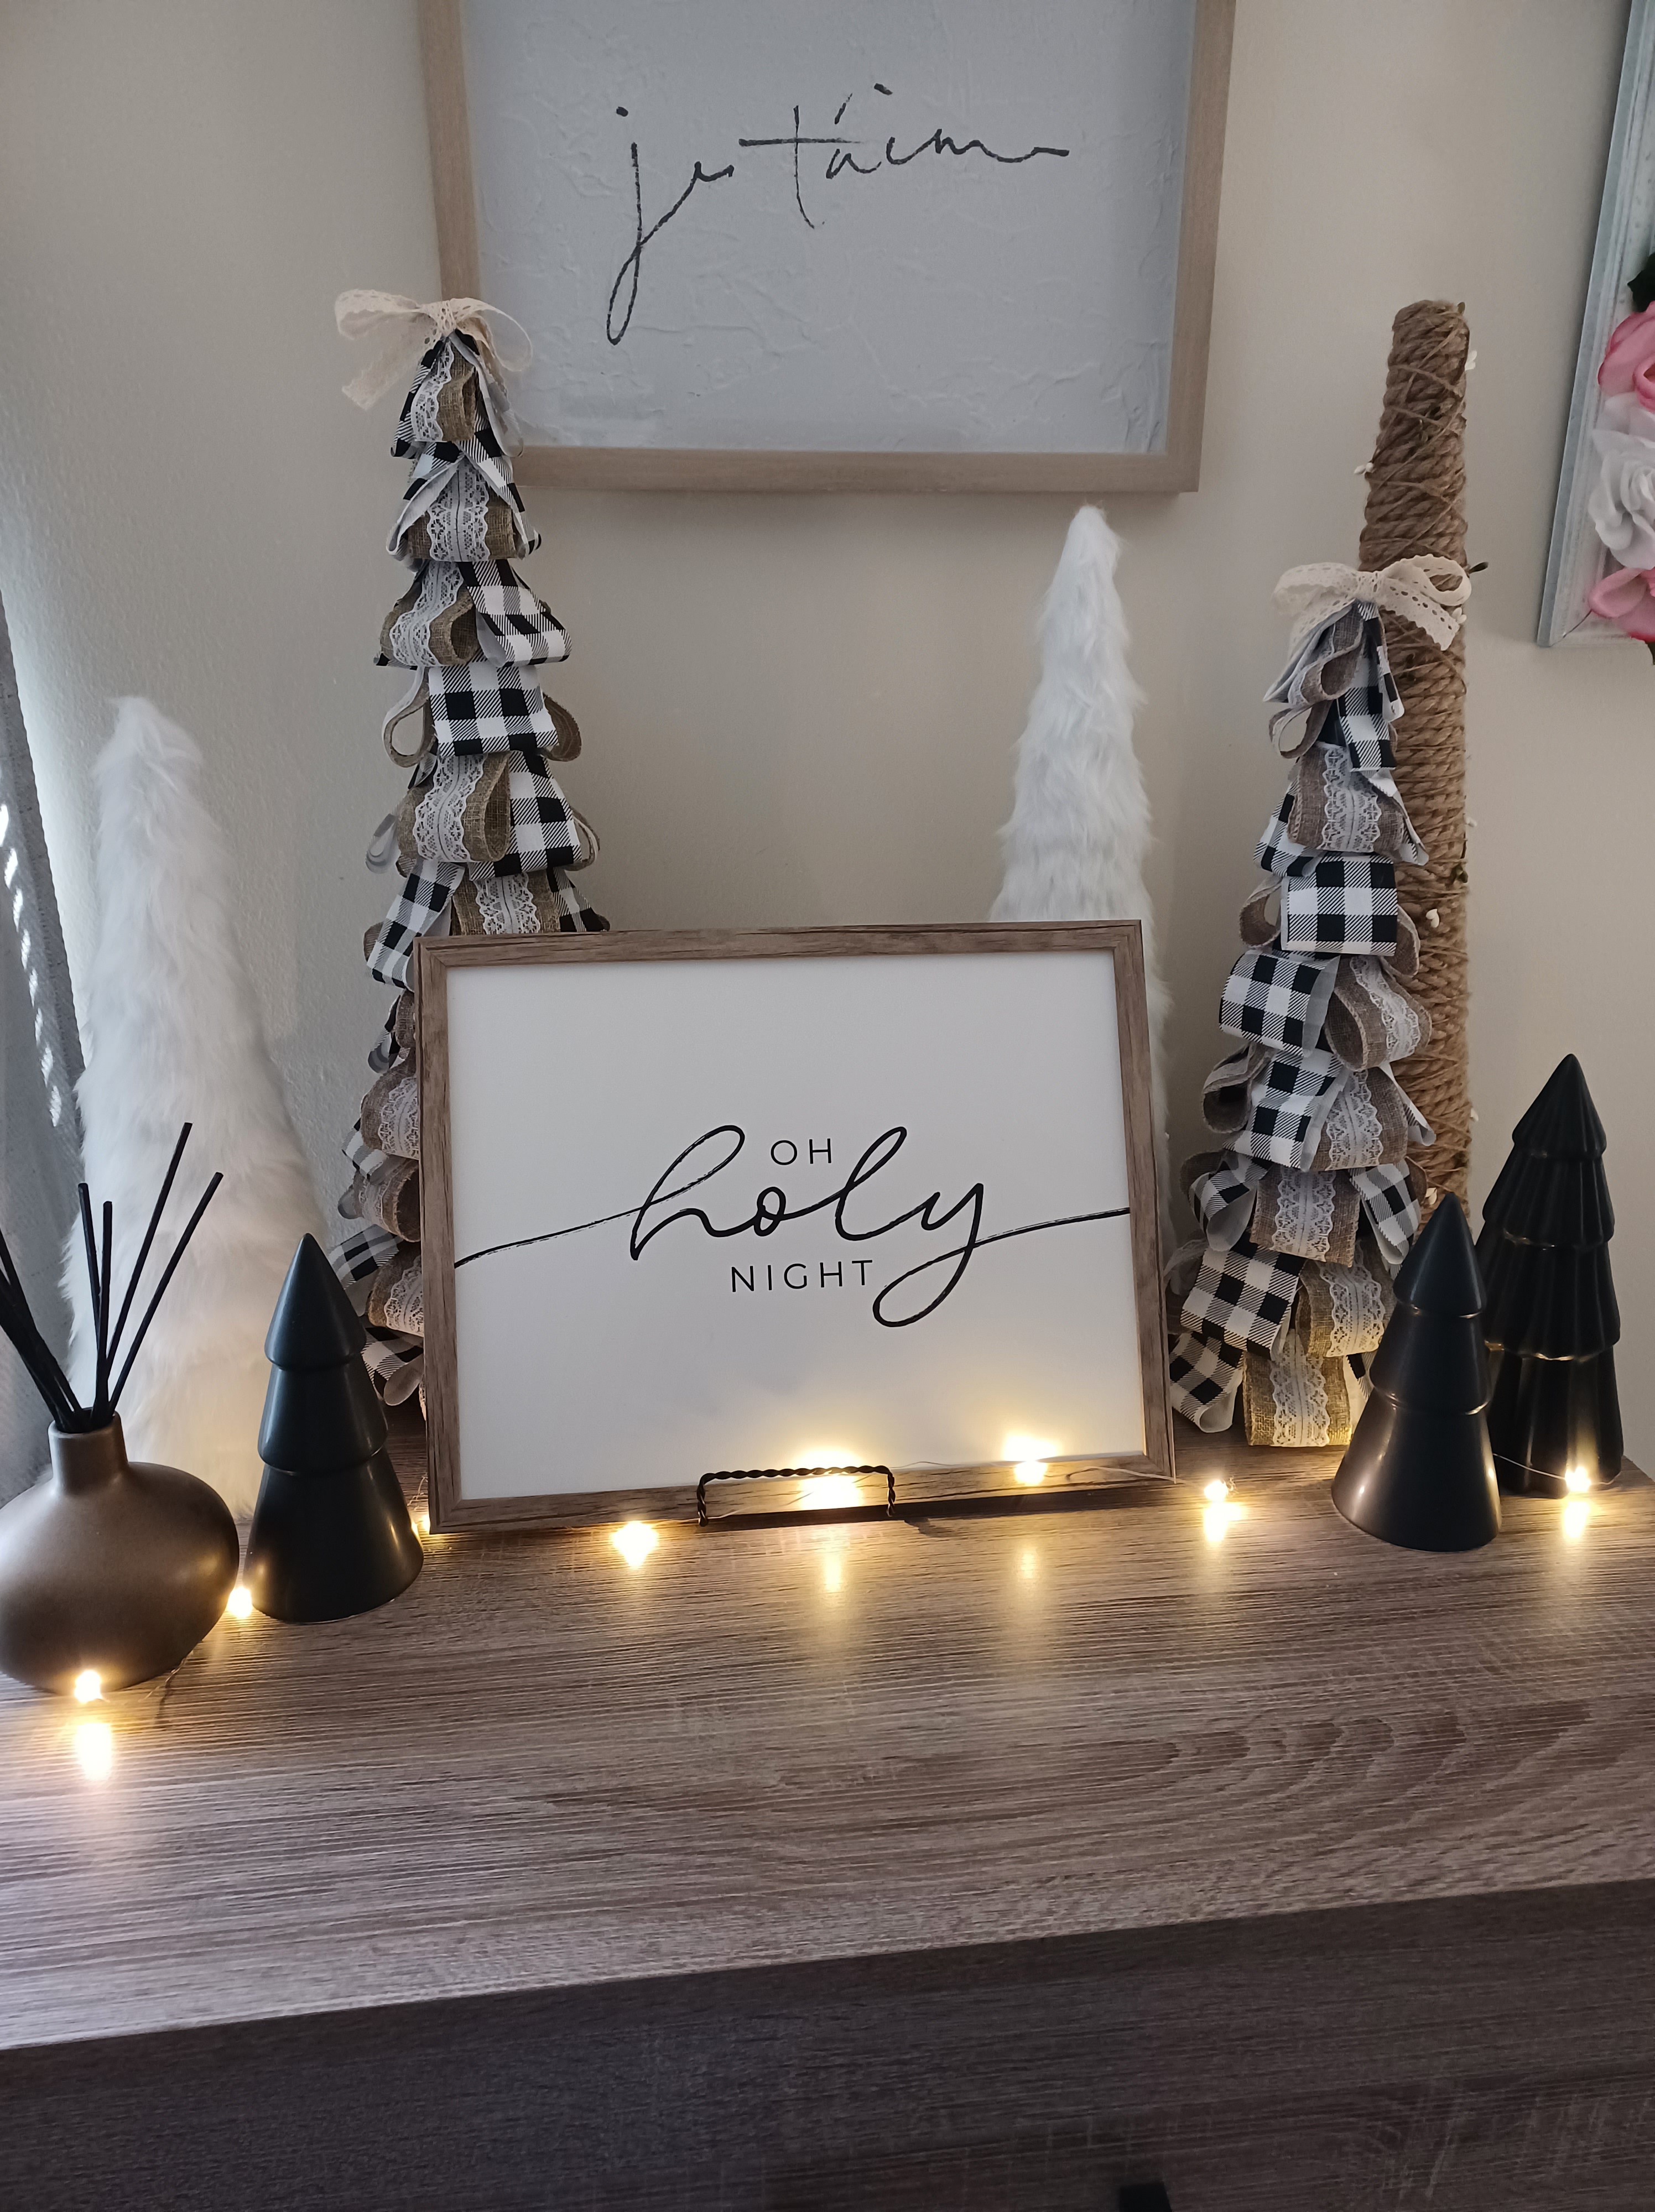
- For ribbon and fabric trees, decide on color/pattern and how many of each. Then cut 2 inch wide and 4 inch long strips of ribbon and/or fabric. Then fold in half and glue the top. Once you have a few done you can start gluing the top part of each to your tree. As you go up the tree your ribbon and fabric pieces need to get smaller so you can still cut 2 inch by 4 inch pieces glue them at the top then cut them in half for smaller pieces at the top of your tree.
- Lastly, you can embellish your trees however you like. Add ribbon at the top or trim at the bottom. I had some gold leaves I added to a few trees or wrapped some berry garland around for a little color.
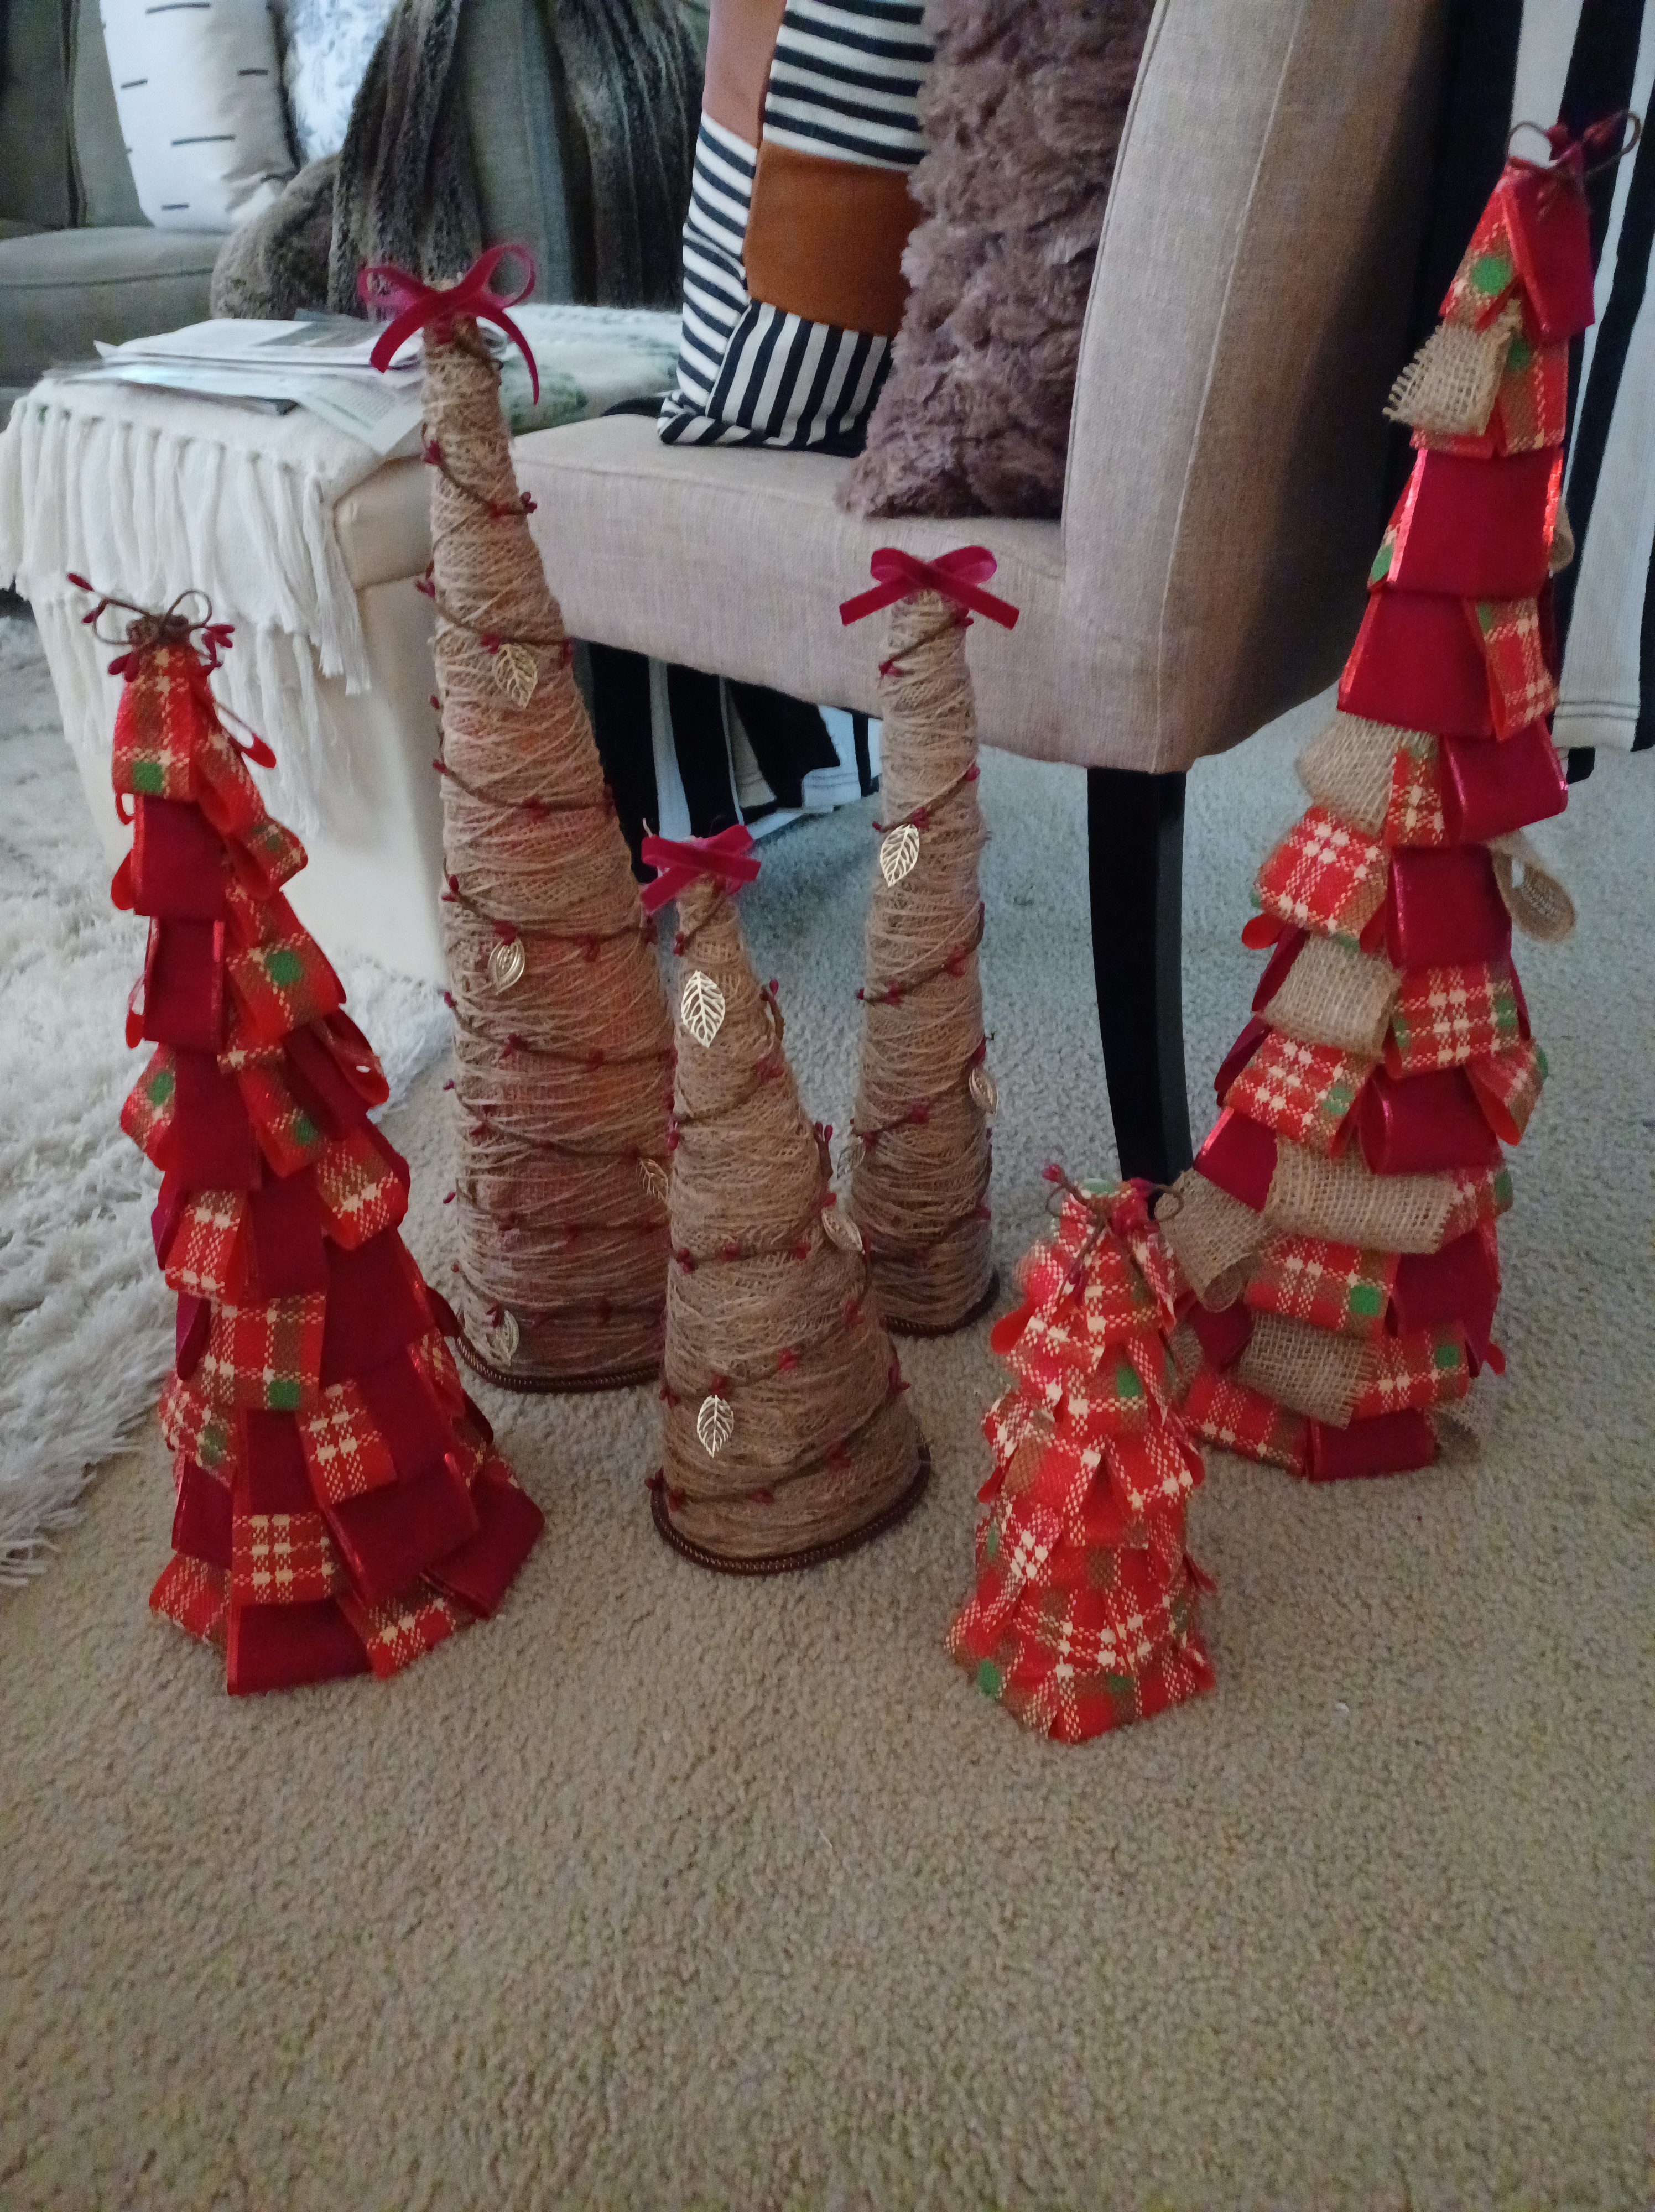
You can get as creative with this project as you want and each tree can be customized to your personal decor color scheme and theme.
This project is extremely fun and super inexpensive! Happy DIYing.
Live it. Love it. Style it.